
Discover how to choose the perfect blush and bronzer shade, where to apply them, easy at-home techniques, dos and don’ts, and a gorgeous liquid blush worth adding to your makeup bag.
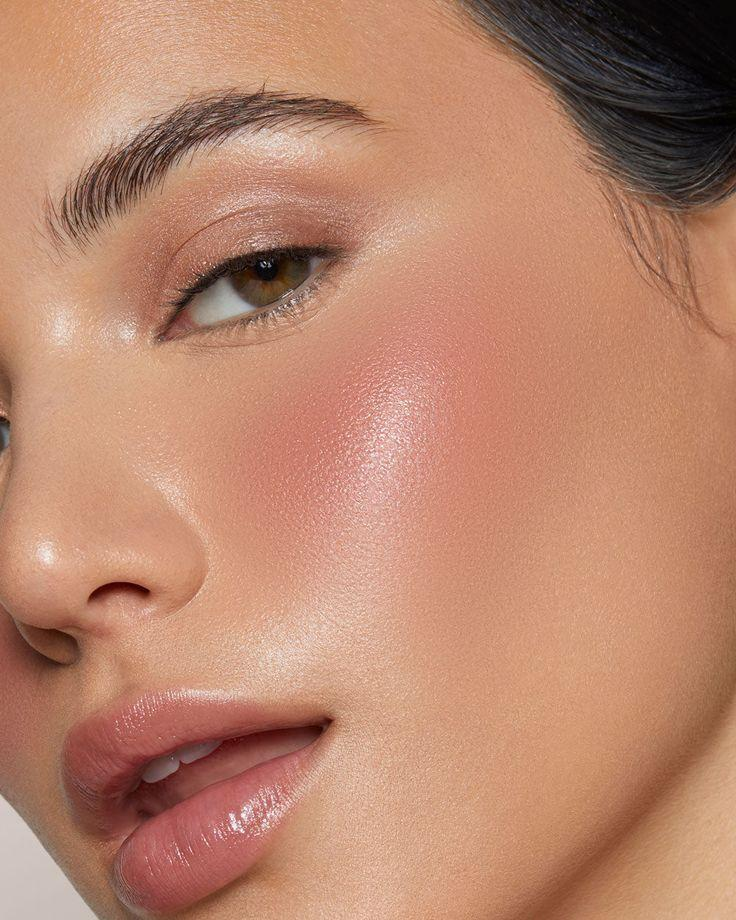
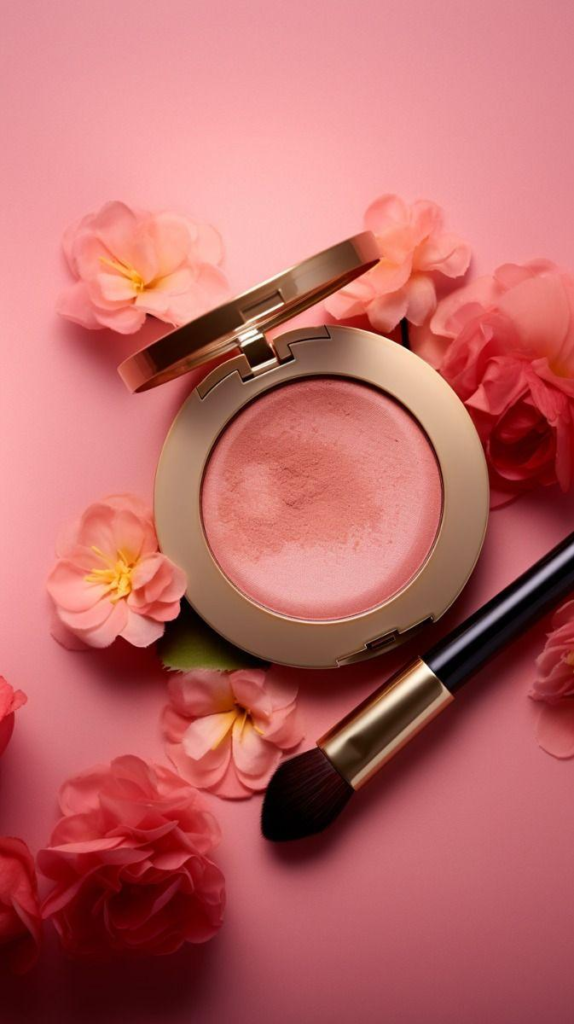
There are few makeup combinations as instantly flattering as blush + bronzer.
Bronzer adds warmth and dimension, while blush brings that fresh, healthy-looking flush back to the face. Together, they can make even a simple everyday makeup look feel polished, soft and effortlessly pretty.
But there is one little problem: with hundreds of shades and formulas available, choosing the right blush or bronzer can feel overwhelming.
Should you choose peach or pink? Matte or glowy? Cream or powder? Where exactly should bronzer go? And how much blush is too much?
Don’t worry. This guide breaks everything down into simple steps so you can create a beautiful, naturally sculpted cheek look right at home.
💕 First: What Is the Difference Between Blush and Bronzer?
Although blush and bronzer are often used together, they have completely different jobs.
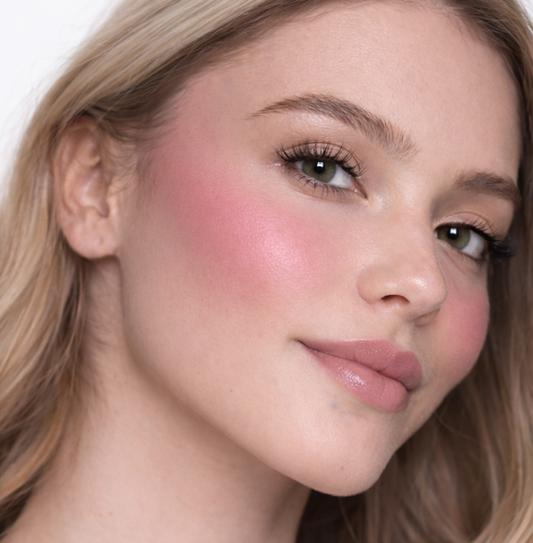
Blush adds color to the cheeks and creates a naturally flushed appearance. Depending on the shade, it can make your complexion look rosy, fresh, youthful or softly sun-kissed.
Bronzer adds warmth and dimension. Think of it as recreating the subtle warmth your face gets after spending a little time in the sun.
A simple way to remember it:
Bronzer = warmth ☀️
Blush = fresh color 🌸
The prettiest looks usually use both—but neither needs to be heavy.
🌸 How to Choose the Perfect Blush Shade
The easiest way to choose a blush is to think about the color your cheeks naturally become when you are slightly flushed.
1. Soft Pink
Pink blush gives the face a fresh, youthful appearance.
It works beautifully for:
- Fair to light skin
- Cool or neutral undertones
- Romantic makeup looks
- Soft “clean girl” makeup
- Everyday makeup
A delicate pink is especially pretty when paired with minimal eye makeup and glossy lips.
2. Peach
Peach blush gives a warmer, brighter appearance.
It is gorgeous for:
- Warm undertones
- Neutral undertones
- Spring and summer makeup
- Fresh everyday looks
- Golden or bronzed makeup
Peach blush also pairs beautifully with warm bronzer.
3. Coral
Coral sits between pink and orange, giving the cheeks a lively pop of color.
Try coral if you want your makeup to look:
- Bright
- Warm
- Fresh
- Tropical
- Sun-kissed
4. Rose
Rose shades are one of the easiest choices when you want something sophisticated but still natural.
They can work beautifully for:
- Everyday makeup
- Date-night makeup
- Romantic looks
- Neutral eyeshadow
- Soft glam
Rosey Posey from Juvia’s Place is especially interesting if you love this family of shades. The brand describes the color as a beauty-rose tone.
5. Mauve
Mauve blush has a slightly cooler, more muted appearance.
It is lovely when you want a more sophisticated look rather than an obviously pink cheek.
Try it with:
- Brown lip liner
- Taupe eyeshadow
- Cool-toned makeup
- Soft matte foundation
6. Berry
Berry blush can look intimidating in the compact—but applied with a light hand, it can create an incredibly beautiful flush.
It is particularly lovely for deeper skin tones and dramatic evening makeup.
🎨 Blush Shade Cheat Sheet
| Skin tone | Shades to try |
|---|---|
| Fair | Baby pink, soft peach, rose |
| Light | Peach, pink, coral, rose |
| Medium | Coral, warm rose, peach, terracotta |
| Tan | Warm rose, terracotta, berry, coral |
| Deep | Berry, plum, burnt coral, deep rose |
Tip: Don’t treat this chart as a strict rule. Makeup is personal, and undertone, finish and personal preference matter just as much as skin depth.
☀️ How to Choose the Right Bronzer
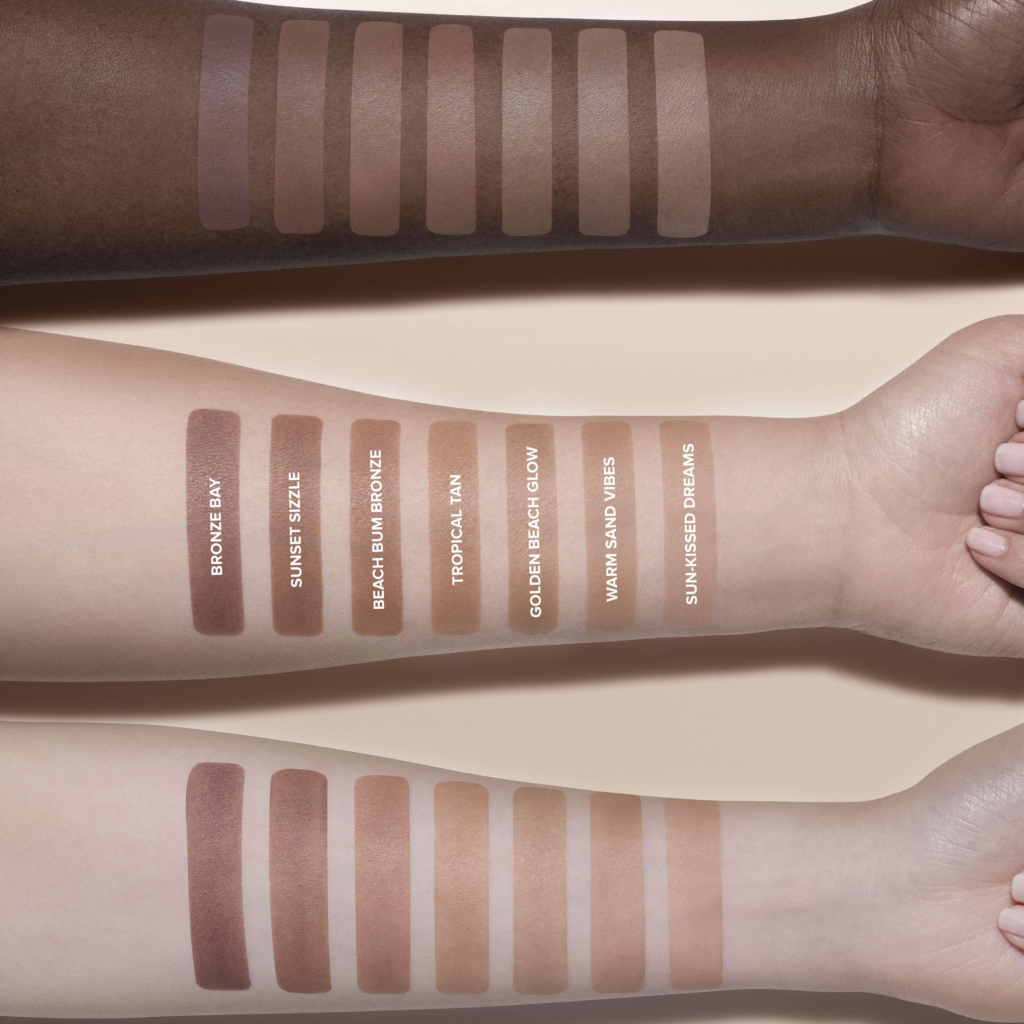
Bronzer should generally look like warmth, not a stripe of brown makeup.
For the most natural effect, choose a bronzer that is only a little deeper than your complexion.
Fair Skin
Look for:
- Light beige-brown
- Soft honey
- Neutral tan
- Light golden shades
Avoid extremely orange or dark bronzers because they can look harsh.
Light-Medium Skin
Try:
- Golden tan
- Soft caramel
- Warm beige
- Neutral bronze
Medium-Tan Skin
Beautiful options include:
- Caramel
- Golden brown
- Warm bronze
- Terracotta-brown
Deep Skin
Try:
- Rich bronze
- Deep caramel
- Warm chocolate
- Red-brown bronze
The goal is not necessarily to make your face darker. It’s to create believable warmth and dimension.
✨ Blush + Bronzer: The Secret to a Balanced Makeup Look
One of the easiest mistakes is applying blush and bronzer as completely separate stripes.
Instead, think of them as softly melting into each other.
Start with bronzer to create warmth.
Then place blush slightly higher and toward the front of the cheeks.
Finally, blend the edges where the two colors meet.
The result should look like:
warmth → flush → glow
rather than three obvious layers of makeup.
💗 My Blush Pick: Juvia’s Place Blushed Liquid Blush in Rosey Posey
If you want to add one pretty liquid blush to your collection, Juvia’s Place Blushed Liquid Blush in Rosey Posey is worth considering.
The Amazon listing you shared corresponds to ASIN B0CCSPCPJX, and the product is listed as the Rosey Posey shade. The product has also been listed with a 4.5/5 rating from 245 customer reviews on a product-indexing page.
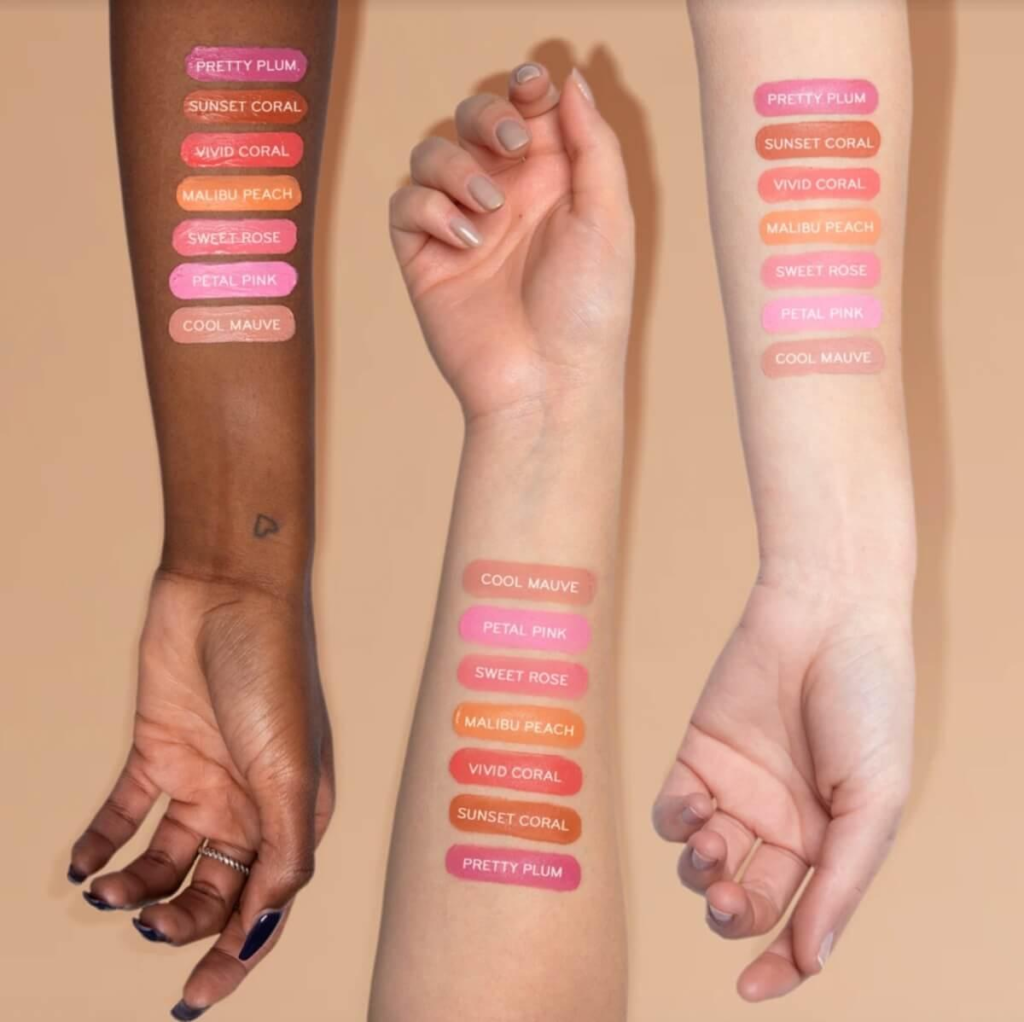
Juvia’s Place describes its Blushed Liquid Blush formula as buildable, radiant, pigmented and blendable, while Rosey Posey is described as a beauty-rose shade. The collection also includes pink, peach, coral, berry and deeper earthy tones.
Why I like it for an everyday makeup routine
💕 Rose-toned and versatile
💕 Liquid formula
💕 Buildable pigmentation
💕 Radiant finish
💕 Can be sheered out for a softer flush
💕 Easy to pair with bronzer
💕 Available in a wide shade range
If you’re someone who loves the look of soft rosy cheeks rather than a heavy powder blush, this is the type of formula I’d consider.
One important tip: liquid blushes can be highly pigmented, so start with a tiny amount. You can always add more.
Shop the Juvia’s Place Blushed Liquid Blush on Amazon
🌷 How to Apply Blush at Home
You don’t need professional makeup skills to create beautiful blush.
Here’s an easy beginner routine.
Step 1: Prep Your Skin
Start with clean, moisturized skin.
Apply:
- Moisturizer
- Sunscreen during the daytime
- Primer if you use one
- Foundation or skin tint
- Concealer
Let your base settle before applying your cheek products.
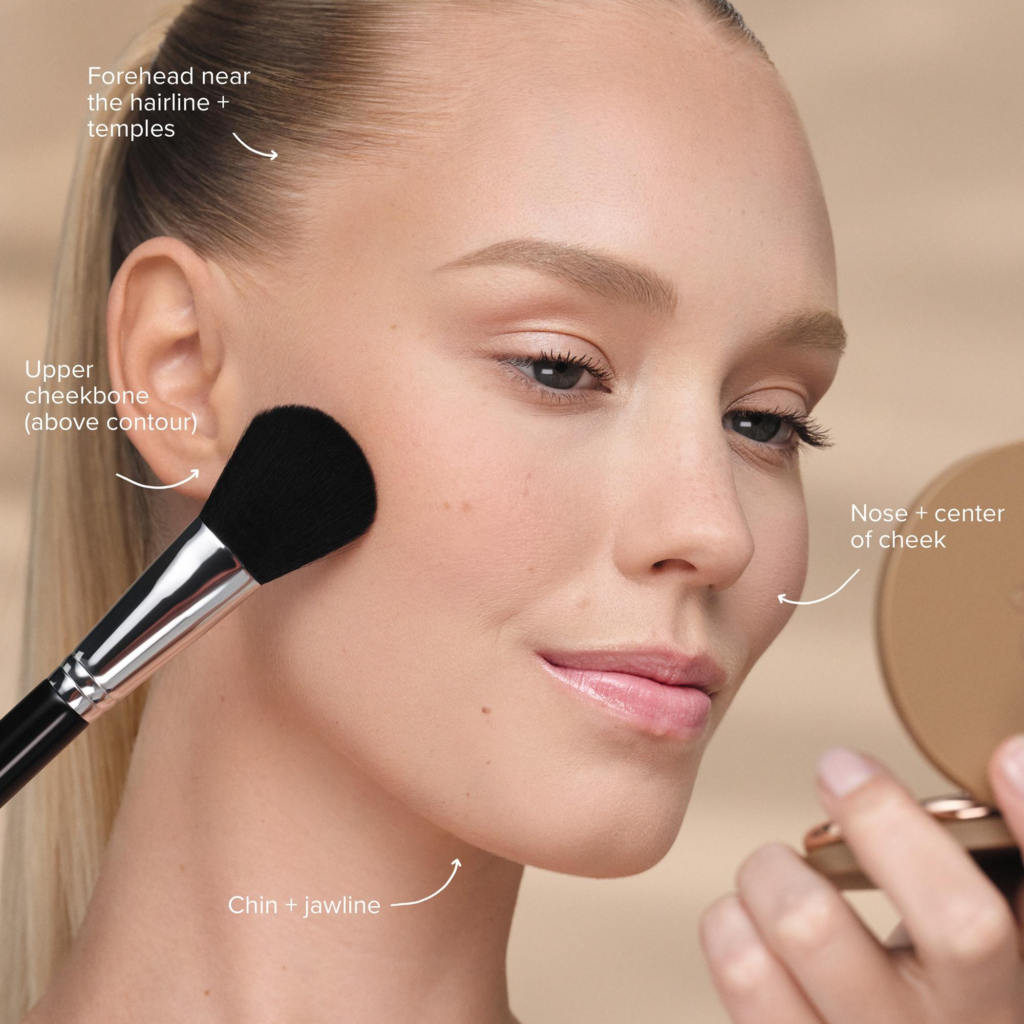
Step 2: Apply Bronzer
Use a fluffy brush and pick up a small amount of bronzer.
Tap off excess product.
Apply it lightly around:
- Upper forehead
- Temples
- Outer cheek area
- Jawline
You can also lightly sweep it underneath the cheekbone area for additional definition.
Don’t draw a harsh line.
Instead, use small circular or sweeping motions to diffuse the edges.
Step 3: Add Blush
For liquid blush, start with one tiny dot per cheek.
Place it on the upper portion of your cheek and gently blend upward toward your temples.
For a youthful look, keep some of the color toward the apples of the cheeks.
For a more lifted appearance, concentrate the color slightly higher and farther outward.
Step 4: Blend
This is the most important step.
Use:
- Fingers
- Damp makeup sponge
- Duo-fiber brush
- Blush brush
Tap rather than aggressively rubbing.
Step 5: Add a Little More
Step away from the mirror for a few seconds.
Look at your entire face.
If the blush has disappeared, add another tiny layer.
Build slowly instead of starting heavily.
Step 6: Finish Your Look
Add:
- Highlighter if desired
- Mascara
- Soft lip liner
- Lip gloss or lipstick
And you’re done! ✨
🎀 The Easy 5-Minute Blush + Bronzer Routine
Running late?
Try this quick routine:
1. Skin tint or foundation
Create a lightweight, even base.
2. Concealer
Brighten only where you need it.
3. Bronzer
Add warmth around the forehead, temples and cheek area.
4. Blush
Apply a small amount to the upper cheeks.
5. Mascara + lip gloss
Finish with simple eye and lip makeup.
The result is fresh, dimensional and polished without looking overly made-up.
💕 Liquid Blush Tutorial for Beginners
Liquid blush looks intimidating because some formulas are extremely pigmented.
Here’s the easiest technique:
The “Dot + Tap + Blend” Method
DOT: Place a tiny dot of blush on the cheek.
TAP: Tap over the area with your fingertips or sponge.
BLEND: Diffuse the edges upward and outward.
Then repeat if you want more intensity.
This technique is especially useful with pigmented formulas because you have much more control over the final color.
🌸 Where Should You Actually Put Blush?
Your placement can completely change the appearance of your makeup.
For a youthful flush
Apply blush closer to the apples of the cheeks and blend outward.
For a lifted appearance
Place the blush higher on the cheekbones and blend toward the temples.
For a soft sun-kissed effect
Use a warm peach or coral blush across the cheeks and lightly toward the bridge of the nose.
The key is diffused color, not a precise stripe.
🪄 Blush + Bronzer Combinations to Try
🌷 Soft Romantic
Bronzer: Neutral tan
Blush: Soft pink or rose
Lips: Pink gloss
Perfect for a feminine everyday look.
🍑 Peachy Glow
Bronzer: Golden tan
Blush: Peach
Highlighter: Champagne
Beautiful for warm-weather makeup.
🌹 Rosy Sun-Kissed
Bronzer: Warm caramel
Blush: Rose
Lips: Brown-pink nude
This is one of my favorite combinations for an effortless, polished look.
🍓 Berry Glam
Bronzer: Deep neutral bronze
Blush: Berry
Lips: Berry or nude
Perfect for an evening look.
💄 Cream, Liquid or Powder Blush?
Not sure which formula to choose?
Liquid Blush
Best for:
- Radiant makeup
- Fresh-looking skin
- Buildable color
- Minimal makeup
- Layering underneath powder products
Cream Blush
Best for:
- Natural makeup
- Dry or normal skin
- Soft dewy looks
- Quick application
Powder Blush
Best for:
- Longer-lasting makeup
- Oily skin
- Matte looks
- Easy touch-ups
You can even combine formulas.
For example:
Liquid/cream blush → powder blush → tiny amount of highlighter
Just keep the layers thin so your makeup doesn’t become heavy.
🚫 Blush & Bronzer Dos
DO:
✔ Start with a small amount of product.
✔ Build your color gradually.
✔ Blend the edges carefully.
✔ Choose blush based on your desired makeup look, not just trends.
✔ Use a clean brush or sponge.
✔ Consider your undertone when selecting shades.
✔ Keep your bronzer slightly warmer than your contour.
✔ Check your makeup in natural light.
✔ Apply liquid blush before setting powder whenever possible.
✔ Experiment with different placements.
🚫 Blush & Bronzer Don’ts
DON’T:
✘ Apply a huge amount of liquid blush immediately.
✘ Use bronzer as a replacement for contour.
✘ Create harsh stripes underneath your cheekbones.
✘ Apply blush directly beside your nose without blending.
✘ Ignore your neck when wearing a noticeably warmer face makeup.
✘ Keep adding product simply because the first layer looks subtle.
✘ Use dirty makeup brushes.
✘ Choose a bronzer that is dramatically darker than your complexion unless you’re intentionally creating a dramatic look.
✘ Assume one blush shade will look identical on every skin tone.
🧼 Don’t Forget Your Makeup Tools
Your makeup will blend much better when your tools are clean.
Wash brushes regularly, especially brushes used for liquid and cream products.
For everyday makeup, keep at least:
- One fluffy bronzer brush
- One blush brush
- One small blending brush
- One makeup sponge
You don’t need a huge collection to create a beautiful cheek look.
💖 My Simple Everyday Combination
If I wanted a cute, effortless everyday cheek look, I’d keep it simple:
Step 1: Lightweight base
Step 2: Soft neutral bronzer
Step 3: Rose-toned liquid blush
Step 4: Blend upward
Step 5: Tiny touch of champagne highlighter
Step 6: Pinky-nude lip gloss
The result is warm, rosy and naturally dimensional without looking too heavy.
🌺 Final Thoughts
Blush and bronzer don’t need to be complicated.
The best makeup is usually the makeup that makes your face look warmer, fresher and more like yourself.
Start with a little bronzer, add a soft flush of blush and blend everything until there are no obvious edges.
And if you’re looking for a pretty rose-toned liquid blush to experiment with, Juvia’s Place Blushed Liquid Blush in Rosey Posey is one option worth checking out. Its buildable, blendable formula and rosy shade make it particularly appealing for soft, romantic cheek looks.
Remember:
A little blush can brighten your whole face. A little bronzer can bring back dimension. And good blending makes everything look effortless. 💕